Visit My Website

Visit My Website
Custom Personalized Candy Wrappers
Showing posts with label picture. Show all posts

Saturday, September 1, 2012

Old Framed Screen and Miniature Chairs Project

Found in the back of Glasgow Trading Post store was this framed screen. After tucking it under my arm, I glided through the antique portion of the shop and picked up miniature chairs.

The internet was no inspiration at all. It took a couple of weeks to finally decide how best to reuse, upcycle or repurpose the items.

The chairs - wired to the screen - safely hold votive or pillar candles, pictures or other small items you want to display.

Paint: The chairs were painted with black acrylic

Wire: Hang the vintage frame with heavier gauge and eyelet screws. Drill pilot holes on the top of the frame using a bit that is smaller than the screw.

Florist wire to hang the chairs onto the screen. Poke wire through the from the back.

Pull the wire through the top leaving a couple of inches in back. Cross over the top of the chair capturing a couple spindles. The wire should be perpendicular to and run horizontal across the spindles.

Poke the wire through the screen from the front then take the two free ends in back and twist several times making sure the wire can't untwist.

Repeat the process but capture the legs of the chairs this time.

Or, use four smaller wire pieces to attach the chair to the screen by wrapping the wire around one leg and spindle at a time (for a total of four attached points of the chair).

Note: Make sure the screen will not pull out of the frame from the weight of the chairs and candles.

I in fact put a lot of hand pressure on the chairs to ensure the screen was securely in tact for safety.

Do not leave lit candles unattended.

Monday, August 20, 2012

Repurpose or Upcylce Old Wooden Frame and Flatware Fork

After searching for ideas to repurpose or upcycle old picture frames and flatware, and finding nothing new or exciting I came up with this brilliant idea.

Easily change out the photo or card to create new instantly framed art for home decor.

What you'll need:
  1. Old wood picture frame. You'll want it big enough to attach a fork.
  2. Small wood screws with heads large enough to cover the edges of the fork.
  3. Drill and bit that is smaller than the wood screw.
  4. Fork.
  5. Scrap fabric (or use ribbon you have laying around).
  6. Pencil, marker, pen or something to mark with.
Pound the fork flat with a hammer on a hard surface. I sometimes lay a folded paper towel on top of the fork if I'm concerned about hammer marks. In this instance, I wasn't concerned.

Bend the two middle tines back a bit to make it easier to insert a photo or card.

Find the horizontal middle of the bottom of the frame. Here, I eyeballed the middle while moving the fork up and down to find the height I wanted to not only hold a horizontal picture but a vertical picture or card, as well.

Note: I liked the color and appearance of this frame so didn't bother with painting it or changing it's original appearance.

With a pencil or marker, make a mark on both sides of the fork where you will drill and add screws. Drill pilot holes then partially screw down the screws.

Slide the fork between the screws and while holding in place completely tighten the screws.

I used Liquid Nails to glue my scrap material bow in place.

You may have to move the hanger on the back if you made a vertical frame into a horizontal one (or vice-versa).

Original posters for the nursery, kids' bedroom and living room decor (see examples below) at Visages.

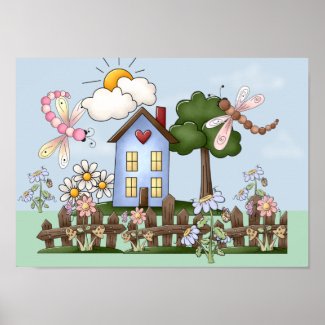
Cute Folk Country House and Picket Fence Art Poster

Cute Folk Country House and Picket Fence Art Poster 
Cute Folk Country House and Picket Fence Art Poster by Visages
See more Dragonflies Posters

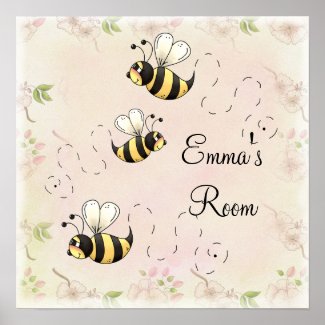
Cute Country Bees to Personalize Poster 

Cute Country Bees to Personalize Poster
Cute Country Bees to Personalize Poster by Visages
Browse Bumblebees Posters

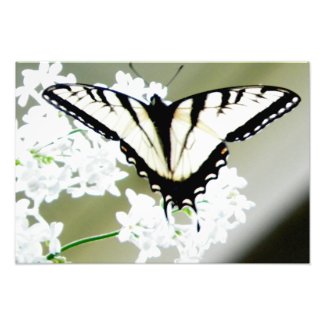
Eastern Tiger Swallowtail Butterfly Photo 

Eastern Tiger Swallowtail Butterfly Photo
Eastern Tiger Swallowtail Butterfly Photo by Visages
View other Butterflies Photography

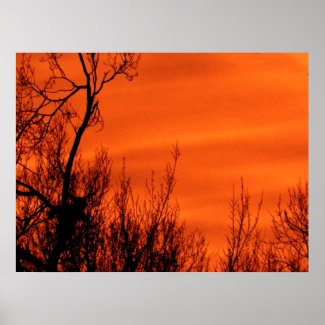
Orange Red Early Sunrise in Kansas Poster 

Orange Red Early Sunrise in Kansas Poster
Orange Red Early Sunrise in Kansas Poster by Visages
Get the best poster printing on zazzle.

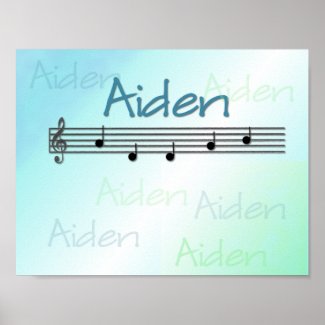
Musical Name Nursery Room Poster

Aiden Musical Name Nursery Room Poster
Aiden Musical Name Nursery Room Poster by Visages
More Aiden Posters

Picture of Panda Bear Chef Posters 

Picture of Panda Bear Chef Posters
Picture of Panda Bear Chef Posters by Visages
Get the best in online poster printing at zazzle.com

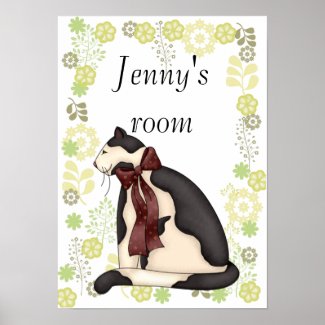
Black & White Kitty Cat w/Floral Border Print

Sunday, June 17, 2012

Fork Hook on Old Wood

This was a fun project and one I created for the antique/gift store, Gramma Sophie's, in Boonville, MO.

A fork bent into the shape of a hook then screwed to an old weathered, beat up board with an Americana scene painted in acrylic paints can serve as a decorative hat or coat hook. (Use a small screw that will fit between the tines of the fork.)

When changing out your decor for Flag Day, Veterans Day, Memorial Day or 4th of July, this primitive piece will grab the attention of friends or family who come to visit.

Background: The sky was quickly slapped on with a hint of creamy white. The trees on the horizon were painted with a sage green  using only the chisel edge of an old, worn out half inch brush. The right side of the trees were darkened with old ivy.

Grass: There is really only a hint of grass created by laying the brush horizontally and skipping around from back to foreground with sage green. Then with old ivy, add a few dark areas.

Barn: Base coat the barn in dark red then shade with diluted black or midnight. Paint the roof line in black. Add the door and loft window in black. Highlight the left edge of the door and window with creamy white. Dry brush in highlights with creamy white.

Path: A combination of light and dark browns (like latte and burnt umber) were slapped on.

Weeping Willow Tree: Paint the trunk of the tree with a light brown using the chisel edge of a half inch brush then shade the right side with burnt umber.

Using a 1/4 inch brush and old ivy, push in the leaves by tilting the brush, pushing and lifting to create a tear drop shape.

Sheep: Base coat the sheep in creamy white then float the shading around the edges with burnt umber. Add the black face, ears and legs by creating simple shapes with a 1/4 inch brush. With the 1/4 inch brush, paint a small blue square then add two dark red stripes. Stencil in a star on the blue square.

Border: Alternate dark red and creamy white using a half inch brush then float shading with burnt umber on both the inner and outer edges of the border.

Don's forget to add either sawtooth or wire hangers.

Monday, January 16, 2012

How to Paint a T-shirt with Acrylic Paints


How to Paint a T-shirt with Acrylic Paints

What? Acrylic paints on a shirt?

You read right... Regular acrylic paint can be used on fabric. You don't need special fabric paints that are expensive - much more expensive than regular craft acrylic paint.

And after the paint dries, it won't fade or wash off when you do laundry. I've had two t-shirts I painted a year ago and the colors are still intact and just as vibrant as the day I painted them.

Supplies:
A design... for ease just use your favorite stencil. Don't have one? Get graphite paper and trace your design on the side of the shirt you are painting (Instructions at the bottom)

Acrylic paint in the plastic bottle although you can use the more expensive tube paint

Sponge dabber or pouncer to pounce on the paint, or paint brushes if you traced a design

Cardboard to put under the layer of fabric you're painting. I use old pizza cardboard rounds after they've set for a couple of days and dried out. Or find an old cardboard box and cut out a section large enough to accommodate your design

Small container of water to rinse your brush

Some paper towel to absorb the excess water from your brush

Plastic plate or something to hold a squirt of paint

Stencil design:

Slide the cardboard between the shirt layers positioning it where you are painting your design – front or back. With straight pins, pin the cardboard into place through the side of the shirt you're painting. Slant your pins rather than pushing them straight through. If you don't, you'll find out why I suggest you do. 'Nough said.

Tape your stencil into place using masking or painters (blue) tape. I like the blue painters tape because it lifts easily; isn't so hard to remove.

Time to paint!
Grab a color... any color... your favorite color and squirt some into a plastic plate. If you squirt too little, no problem. You can just squirt more as needed.

Squirted too much? No problem... when you're done, take the top off the bottle, grab a brush or use your finger, scoop it up and add it back into the bottle scraping your brush or finger along the lip line so that the paint flows inside.

Wet your dabber/pouncer then squeeze out the water with the paper towel. Pounce it into the paint then begin pouncing the stencil shape design.

Be sure to pounce and not drag it as the paint will seep under the stencil.

Note that the material of the t-shirt soaks up the paint. This is okay but I do suggest using a good gob of paint.

As you pounce, you'll see less and less paint transferred onto the material. Dab your pouncer often into the paint so you get good coverage.

And listen... there isn't one piece... NOT ONE PIECE of art out there that is perfect. Ask any artist and they will tell you where there are mistakes in their work.

No lie...

So, if you feel your shirt isn't perfect so what? Unless you've done one horrible... and I mean horrible job of pouncing nobody will notice. In fact, you'll get compliments on your shirt.

Where'd you get that shirt?” “Did you make that shirt?” “Can you make one for me?”

Okay, you've finished pouncing your shirt.

Leave the stencil in place until the paint is fairly dry. Holding the stencil in place with one hand, peel the tape off with the other hand.

Lift the stencil straight up.

Wash off the paint from the stencil using straight warm water.

Leave the cardboard in place until the shirt is completely dry. If you don't, the paint will soak into the underside – or the second layer – of the shirt if you remove the cardboard too soon.

Once completely dry, remove the pins and cardboard. Some of the cardboard may stick to the shirt. It will come off with the first wash.

Now some suggest you throw the shirt into the dryer to set the paint.

I have not found this to be true. I have never dried to set the paint. I simply wait until the paint is dry – 24 hours - then I wear it.

Suggestions:
Stencil acrylic paint on jeans, cloth napkins, jackets, baby onsies/body suits, socks, dish towels, area rugs, sweatshirts, tote bags, edges of sheets or table cloths... Only your imagination will get into the way of thinking of ways to use this creative way to decorate material.

Tracing designs onto your t-shirt with graphite paper:

Using blue painters tape which is easily removed, tape only one edge of your design onto your shirt. You could also pin the paper design along one edge.

Slide the graphite tracing paper - graphite down - between your picture and the shirt material then on a hard surface begin transferring with a ball point pen.

Don't press too hard or you'll go through the papers.

Every so often you can lift the paper and graphite paper to see where you are or what you have missed. Just make sure you don't allow the design to shift or move in any way. Other wise you'll have part of the design in one area and continuing in another. 

To the right is a black t-shirt I painted for my mother. She was so proud of it, she wore it to church the very day I delivered it.

For all of my original designs (NEVER sell designs you've traced that belong to someone else), I charge the cost of the shirt plus $10. Cheap when you consider the time put into it but I tell you, people LOVE the thought of a hand painted shirt.

You can find more original designs at my online store, Visages.

Below are some of my newest designs many of which you can personalize with a name or your own quote or saying!


Got What I Wanted shirt
Got What I Wanted by Visages
Browse other tees made on zazzle
Panda Bear Chef Likes Honey Badgers shirt
Panda Bear Chef Likes Honey Badgers by Visages
Browse zazzle for a different shirtzazzle