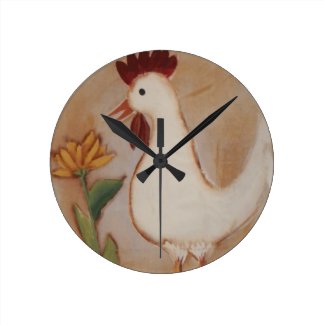
I slapped nutmeg and antique white on for the background then painted simple shapes with antique, tomato red, latte (wings), orange and finally green acrylic paint.
With a liner brush, I loosely outlined the rooster with black.
It takes very little time most of which was consumed by waiting for the paint to dry.
Visit my online gift store, Visages, for more unique gifts, invitations, and decor.
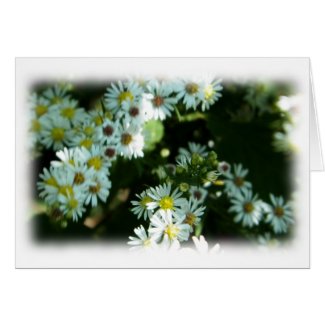
Cute Country Folk Flowers, Mushrooms and Butterfly Greeting Cards

Cute Country Folk Flowers, Mushrooms and Butterfly Greeting Cards by Visages
Create cards on zazzle.
Primitive Patriotic 4th of July Books Sheep Stars Throw Pillow
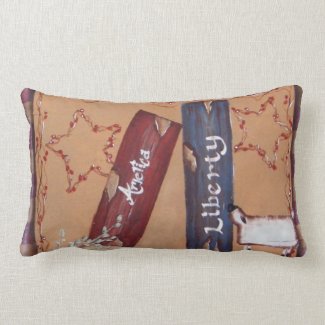
Primitive Patriotic 4th of July Books Sheep Stars Throw Pillow by Visages
View other Patriotic Pillows at Zazzle.com
Cardinal Bird in the Winter Snow

Cardinal Bird in the Winter Snow by Visages
Shop for a different greeting card template online at zazzle
Snowy Woods Poster
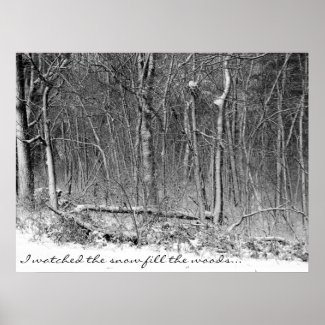
Snowy Woods Poster by Visages
Check out more Snow Posters at Zazzle
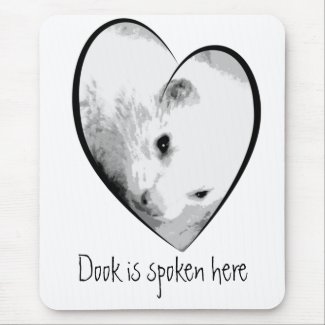
Cute Ferret Picture in a Heart Mousepad
Cute Ferret in Easter Bunny Costume Shirt

Cute Ferret in Easter Bunny Costume Shirt by Visages
Learn how to sell t-shirts online at Zazzle
Funny About Me Tee