Visit My Website

Visit My Website
Custom Personalized Candy Wrappers
Showing posts with label antique. Show all posts

Monday, October 1, 2012

Paint Vintage Oil, Gas or Kerosene Can for Makeover


Turn old grey galvanized oil, gas, or kerosene cans into rustic country decor or vases with paint and your imagination.

These three cans were given to me by Donnie, Glasgow Trading Post, with instructions to "... paint roosters. Roosters are popular.". Well, he got a couple of chickens (one pretty primitive) and primitive rooster.

The trick to creating the chicken and rooster shapes - strictly speaking for myself - is to focus on the negative space surrounding the bird since I most generally don't trace.

Because the birds are mostly white, I chose dark backgrounds which allow the lighter colors to "pop" a bit more than if I were to use lighter backgrounds.

If you're unsure whether the colors you chose will contrast enough, simply paint swatches on scrap paper to compare. Scared of making a mistake? Here's the great thing about paint: You can paint over it as many times as necessary until you achieve the look you want.

And... be sure to take a brush and water to at least the exterior to remove anything that's loose.

The above can was based with nutmeg brown. The bottom border was made with a 1/4 inch brush. Antique white and barn red make up the colors of the primitive chicken. Burnt umber was floated along the interior edges of her body.

I chose a black background for variation since the piece was scheduled to be in a gift shop. I wanted to offer customers a choice. The colorful chicken was based in antique white, head in barn red and multiple colors and layers were added for her feathers. I added a bit of shading around a few feathers of the wing just to add interest and depth.

Again, nutmeg brown for the base color. I painted a simple leaf motif border around the bottom in antique gold. Barn red and antique white make up the body while antique gold was used for the feet. The primitive rooster's body was finished off with a light coat of burnt umber along the inside edges.

Rule of thumb: Keep the shapes basic and painting to a minimum. Think quick and easy to achieve a rustic country or primitive look.

All cans were sprayed with a clear coat - the cheapest I could find.

Why?

Because acrylic paint doesn't stick to metal very well so the slightest brush against it will chip or scratch the paint.

If the can is remaining inside the home, you can always use water based varnish found at a craft store.

Have fun! Don't be scared. Attack the can bearing in mind that you can paint over any mistake.


Pumpkins and Mum Autumn Picture Card
Pumpkins and Mum Autumn Picture Card by Visages
Make an invite on zazzle

Pumpkins and Mum Autumn Picture Card
Pumpkins and Mum Autumn Picture Card by Visages
Browse other Pumpkins Cards

  Pumpkins and Mum Autumn Picture Poster
Pumpkins and Mum Autumn Picture Poster
Pumpkins and Mum Autumn Picture Poster by Visages
View another fine art print at zazzle

 Pumpkins and Scarecrow Picture Cards
Pumpkins and Scarecrow Picture Cards
Pumpkins and Scarecrow Picture Cards by Visages
See more Pumpkins Cards

  Pumpkins and Mum Autumn Picture iPhone 5 Cases
Pumpkins and Mum Autumn Picture iPhone 5 Cases
Pumpkins and Mum Autumn Picture iPhone 5 Cases by Visages
View other Pumpkins Casemate Cases

  Cute Primitive Art Snowman Christmas Ornaments
Cute Primitive Art Snowman Christmas Ornaments
Cute Primitive Art Snowman Christmas Ornaments by Visages
Browse more Primitive Ornaments

  Cute Christmas Primitive Snowman Beverage Coasters
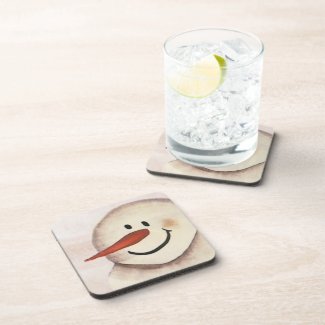
Pumpkins and Mum Thanksgiving Picture Greeting Cards
Pumpkins and Mum Thanksgiving Picture Greeting Cards by Visages
Browse more Pumpkins Cards

  Primitive Folk Art Snowman Holiday Party Personalized Announcement
Primitive Snowman Christmas Jar Sticker
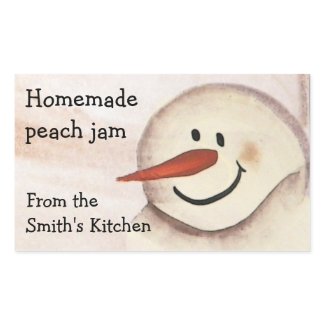
Primitive Snowman Christmas Jar Sticker by Visages
See more Primitive Stickers

Primitive Acrylic Painted Snowman Christmas Tag Rectangular Sticker 
Tuesday, September 18, 2012

This hand painted vintage metal cake carrier (holder or cover) was originally bare silver metal (tin, I wonder) when it was given to me by Donnie, owner of Glasgow Trading Post.

I used acrylic paint then sealed it with a water-base varnish more to protect the paint than anything but in the end the piece appears to be enamel coated.

If you tackle the project be prepared to use at least three layers of acrylic to base-coat it. But once you have it base-coated, depending on what element you're painting you can get away with using only one layer of paint.

The next
project - also given to me by Donnie - is a sponge cake pan also originally bare silver metal. Again, you'll have to base coat at least three layers.

Color was floated below the edge of the "icing" with dry brushed highlights on the "icing" to make it appear three dimensional and no other decorative elements were added. I wanted it to look like a cake setting out in the kitchen but it will also look good on a kitchen wall.

This piece was also finished with water-base varnish.

Note: Acrylic doesn't stick to metal as there is no adhesive in the paint. It's strictly water-base with pigment.

To help the paint to stick, you have the option of sanding to roughen the metal or using spray enamel paint as the base coat.

These items are for sale at Glasgow Trading Post in Glasgow, Missouri. Have fun with the two projects!

Please visit my gift store, Visages. Below are just a few of my original designs. 

Funny Tea Mug Quote Hand Warmer 
Funny Tea Mug Quote Hand Warmer
Funny Tea Mug Quote Hand Warmer by Visages
Get the best in mug printing from Zazzle.

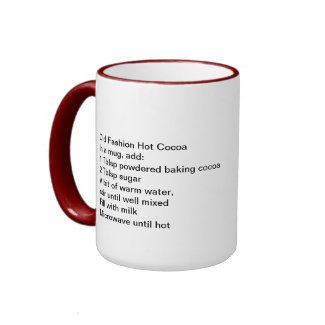
I Heart (Love) Hot Cocoa Mugs
I Heart (Love) Hot Cocoa Mugs by Visages
View more Hot cocoa Mugs

Hot Caliente Jalapeno Peppers Sticker 
Hot Caliente Jalapeno Peppers Sticker
Hot Caliente Jalapeno Peppers Sticker by Visages
See other Caliente Stickers
Orange Plaid Gift Tile Trivet 
Orange Plaid Gift Tile Trivet
Orange Plaid Gift Tile Trivet by Visages
View other tiles

Green Plaid Tile Trivet 
Green Plaid Tile Trivet
Green Plaid Tile Trivet by Visages
View other tiles

Snowman Chef in Apron & Chefs Hat 
Hot Caliente Mug
Hot Caliente Mug by Visages
Personalize coffee mugs at Zazzle

I Heart (Love) Coffee or Candy Jar

Saturday, September 1, 2012

Old Framed Screen and Miniature Chairs Project

Found in the back of Glasgow Trading Post store was this framed screen. After tucking it under my arm, I glided through the antique portion of the shop and picked up miniature chairs.

The internet was no inspiration at all. It took a couple of weeks to finally decide how best to reuse, upcycle or repurpose the items.

The chairs - wired to the screen - safely hold votive or pillar candles, pictures or other small items you want to display.

Paint: The chairs were painted with black acrylic

Wire: Hang the vintage frame with heavier gauge and eyelet screws. Drill pilot holes on the top of the frame using a bit that is smaller than the screw.

Florist wire to hang the chairs onto the screen. Poke wire through the from the back.

Pull the wire through the top leaving a couple of inches in back. Cross over the top of the chair capturing a couple spindles. The wire should be perpendicular to and run horizontal across the spindles.

Poke the wire through the screen from the front then take the two free ends in back and twist several times making sure the wire can't untwist.

Repeat the process but capture the legs of the chairs this time.

Or, use four smaller wire pieces to attach the chair to the screen by wrapping the wire around one leg and spindle at a time (for a total of four attached points of the chair).

Note: Make sure the screen will not pull out of the frame from the weight of the chairs and candles.

I in fact put a lot of hand pressure on the chairs to ensure the screen was securely in tact for safety.

Do not leave lit candles unattended.

Sunday, August 26, 2012

Make a Wind Chime out of Vintage Silver Plated Flatware

Actually, you can use any flatware to make this wind chime. The tinkling sound will be just as pretty.

The only difficulty I have in making silverware wind chimes is in finding things to use to hold the strings of chimes. However, when my mother brought this small basket to me then said, "I'll be interested in seeing what you make of this.", I knew immediately what purpose the basket would serve.

Black spray paint was in order as the basket was in it's natural color of tans and browns.

Next, I located a hook screw to hang the basket on and screw into the beams of the porch.

Finally, floral wire was wrapped around each flatware piece then strung through the basket weave and twisted. A large for was used for the middle and strung through the bottom center (or when hanging it will be the top) of the basket.

Attach a loop of wire that the hook screw can hook through on what will be the top of the basket.

After you wrap the wire around the silverware and before you attach it to the basket, make a loop and turn it so the unattached or free end of the wire (the end that you will attach to the basket) is on the bottom of the loop then slide the loop over the top of the flatware piece. This will keep the wire wrapped around the piece.

Well, this all might sound a bit confusing I note as I reread this but once you get all your materials together, you will probably figure out mechanics that best suit you.

Find collectible plates in the Kitchen and Dining section of Visages.

Pet Rhodesian Ridgeback Dog Picture Plate
Pet Rhodesian Ridgeback Dog Picture Plate by Visages
Shop for another party plate

Plates with Herbs Flowers Leaves 
Plates with Herbs Flowers Leaves
Plates with Herbs Flowers Leaves by Visages
See other With flowers Plates

Plate with Pink Lily Easter Flower 
Plate with Pink Lily Easter Flower
Plate with Pink Lily Easter Flower by Visages
Browse other Flower Plates

Cute Country Angel Watering Flowers Party Plates 
Cute Country Angel Watering Flowers Party Plates
Cute Country Angel Watering Flowers Party Plates by Visages
Create unique custom plates online at Zazzle.

World's Best Cook Panda Bear Chef Plate
World's Best Cook Panda Bear Chef Plate by Visages
Shop for another party plate

Cute Americana Christmas Cowboy Snowman Party Plate 
Cute Americana Christmas Cowboy Snowman Party Plate
Cute Americana Christmas Cowboy Snowman Party Plate by Visages
Browse Cowboy Plates

Cute Christmas Cowboy Snowman Party Plate 
Sunflower Picture Plate
Sunflower Picture Plate by Visages
Browse more Sunflower Plates

Kitty Cat with Hearts Picture Dinner Plates 

Monday, August 20, 2012

Repurpose or Upcylce Old Wooden Frame and Flatware Fork

After searching for ideas to repurpose or upcycle old picture frames and flatware, and finding nothing new or exciting I came up with this brilliant idea.

Easily change out the photo or card to create new instantly framed art for home decor.

What you'll need:
  1. Old wood picture frame. You'll want it big enough to attach a fork.
  2. Small wood screws with heads large enough to cover the edges of the fork.
  3. Drill and bit that is smaller than the wood screw.
  4. Fork.
  5. Scrap fabric (or use ribbon you have laying around).
  6. Pencil, marker, pen or something to mark with.
Pound the fork flat with a hammer on a hard surface. I sometimes lay a folded paper towel on top of the fork if I'm concerned about hammer marks. In this instance, I wasn't concerned.

Bend the two middle tines back a bit to make it easier to insert a photo or card.

Find the horizontal middle of the bottom of the frame. Here, I eyeballed the middle while moving the fork up and down to find the height I wanted to not only hold a horizontal picture but a vertical picture or card, as well.

Note: I liked the color and appearance of this frame so didn't bother with painting it or changing it's original appearance.

With a pencil or marker, make a mark on both sides of the fork where you will drill and add screws. Drill pilot holes then partially screw down the screws.

Slide the fork between the screws and while holding in place completely tighten the screws.

I used Liquid Nails to glue my scrap material bow in place.

You may have to move the hanger on the back if you made a vertical frame into a horizontal one (or vice-versa).

Original posters for the nursery, kids' bedroom and living room decor (see examples below) at Visages.

Cute Folk Country House and Picket Fence Art Poster

Cute Folk Country House and Picket Fence Art Poster 
Cute Folk Country House and Picket Fence Art Poster by Visages
See more Dragonflies Posters

Cute Country Bees to Personalize Poster 

Cute Country Bees to Personalize Poster
Cute Country Bees to Personalize Poster by Visages
Browse Bumblebees Posters

Eastern Tiger Swallowtail Butterfly Photo 

Eastern Tiger Swallowtail Butterfly Photo
Eastern Tiger Swallowtail Butterfly Photo by Visages
View other Butterflies Photography

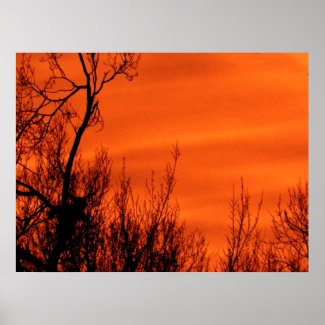
Orange Red Early Sunrise in Kansas Poster 

Orange Red Early Sunrise in Kansas Poster
Orange Red Early Sunrise in Kansas Poster by Visages
Get the best poster printing on zazzle.

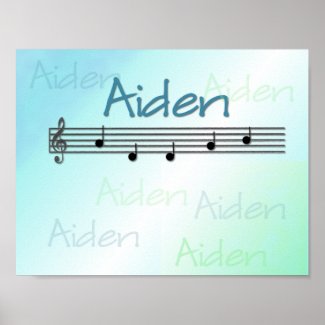
Musical Name Nursery Room Poster

Aiden Musical Name Nursery Room Poster
Aiden Musical Name Nursery Room Poster by Visages
More Aiden Posters

Picture of Panda Bear Chef Posters 

Picture of Panda Bear Chef Posters
Picture of Panda Bear Chef Posters by Visages
Get the best in online poster printing at zazzle.com

Black & White Kitty Cat w/Floral Border Print

Tuesday, July 3, 2012

What to do with an Old Washboard

 Our neighbors have granted me permission to go through a shed that sets in the back of their house. It's full of old wood, a screen door, an old handmade crate and more I haven't yet discovered but when I looked up, I found this old washboard shoved between a beam and the roof. I wrestled it out of its nest (no telling how longs it's been there) while keeping an eye on certain flying insects with stingers and carried it proudly back to my work area.

I decided to turn it into a hand towel rack by screwing on (drilled and screwed in from the back) part of an old baby bed frame I cut to size. I slapped on antique white acrylic then did hand lettering in black and sprayed on some protection.

Picture hanging wire and eye screws were added to the back.

Today it'll take a ride to Boonville, MO, to rest in Gramma Sophie's store on consignment until someone simply can't do without it.

Below are new gift items I've created at Visages. 

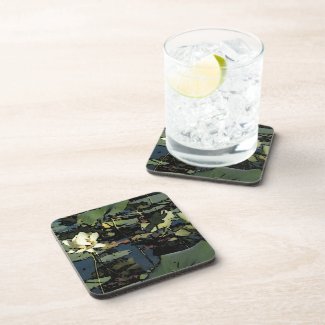
Water lily cork coaster
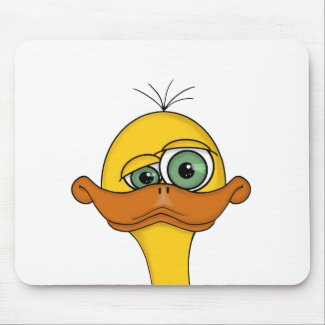
Funny Odd Duck Cartoon Mouse Pads
Funny Odd Duck Cartoon Mouse Pads by Visages
Browse more Crazy Mousepads
Poster of purple iris 
Purple Iris Photograph Posters
Purple Iris Photograph Posters by Visages
Create unique customized prints online at Zazzle.
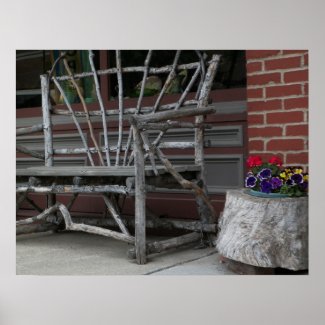
Old bench made out of tree branches poster