Here are three primitive acrylic painted owl projects for your consideration.
Far left is an old plastic decorative plate I purchased at a garage sale for 10 cents. It took a bit more time than the other two decorative projects because of the multiple layers of paint but was well worth the effort. The edges of the main elements were outlined in black.

Center owl picture above: An unwanted book becomes table top decor. Stand it upright simply by opening the front and back covers. You can't get much simpler than this. Shapes, floated shadows and edges with only the slightest attention to detail are the ingredients to this recipe.
 Finally, at the far right is a wall plaque made from an old piece of barn wood framed with leftover trim I found laying in the basement of my house. It was painted black before the three primitive owls were added. Again, these owls are basic shapes but the bottom two owls have big, sad eyes with three highlights.
The primary acrylic paint colors used: Antique white, teddy bear tan, avocado, ivy, barn red, nutmeg, honeycomb and - of course - black.
All owl decorative pieces will be for sale at Gramma Sophie's in Boonville, Missouri.
Please visit my online gift store, Visages. Below are a few examples of what you'll find.
Song Bird Robin Black Silhouette on Maroon Mousepads
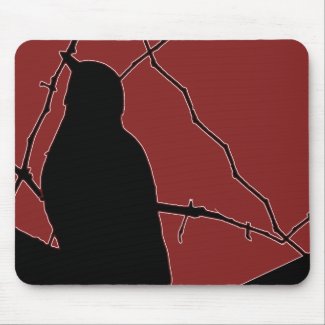
Song Bird Black Silhouette on Maroon Mousepads by Visages
Create photo mouse pads at zazzle.com
Primitive Chicken and Flower Painting Wall Clock
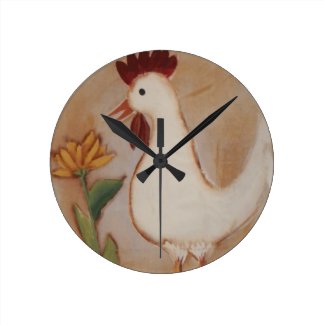
Primitive Chicken and Flower Painting Wall Clock by Visages
View other Clocks
Humming Bird at Feeder Photograph Blank Cards
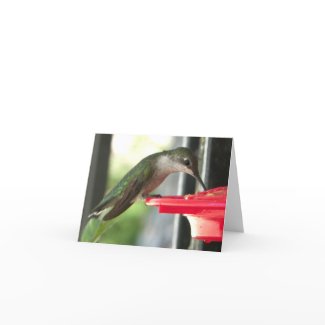
Humming Bird at Feeder Photograph Blank Cards by Visages
Browse other Humming Cards
Country Red Check Gingham Birdhouse Plates

Country Red Check Gingham Birdhouse Plates by Visages
View more Gingham Plates
Cute Country Blue Gingham Checks Baby Shower Custom Invitation Announcements
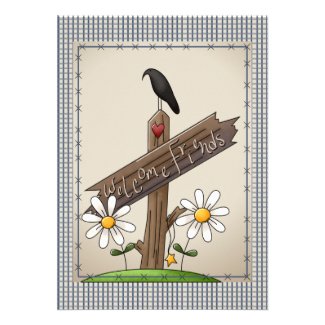
Cute Country Blue Gingham Checks Baby Shower Custom Announcements by Visages
Design your own invites using zazzle
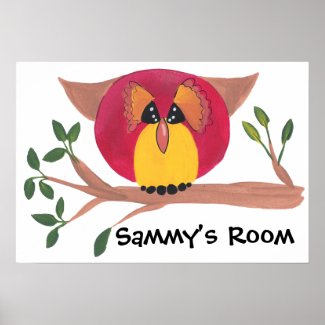
Cute Horned Owl Painting Posters