Visit My Website

Visit My Website
Custom Personalized Candy Wrappers

Friday, October 26, 2012

Primitive Burlap Fabric Candle Jar or Coffee Cup Coasters

Coasters for candle jars, beverage or drinking glasses, coffee mugs or cups sell well at a shop I consign in, Gramma Sophie's in Boonville, MO.

I don't make them for her, another lady does but given that they tend to sell I decided to try my hand at making and selling them at Glasgow Trading Post.

I wanted to create something rustic, country and very easy to sew which to me means primitive. I wanted to sew coasters women wouldn't fear would get stained and I priced them at $2.00 each making them affordable to replace.

They measure five inches.

Each square is simply a five-inch piece of burlap fabric folded in the middle and ironed flat then placed on burlap backing and "woven" if you will to create a checked effect.

For instance, I laid two off white folded pieces - rough edge out - so the folded edges meet in the middle and even with the back's edges.

Then I laid a brown piece perpendicular to the off white - folded edge in the center and even with the back plus the two ends of white burlap - lifted an end of a white and laid an end of the brown beneath it, then did the same to the other side.

Again: rough edges facing out, lay down two pieces of fabric so the edges are even with the back and folded edges meet in the middle.

Lift one end of one of the pieces and slide another color beneath it, rough edge out and perpendicular. Line all the edges so they're even.

Turn and repeat so that you have created a checker board.

I pinned then sewed the edges.


You can even make triangles using the same method. Clip the corners and turn right side out.

You can make them virtually any size. The purple and off white (right) are four inch while the prints (bottom left) are six.


Personalized coasters for great gifts at Visages.
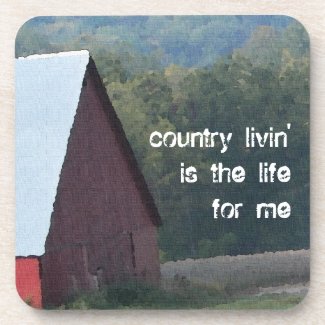


Red Barn Autumn Trees Drink Coasters
Red Barn Autumn Trees Drink Coasters by Visages
Browse other Red Cork Coasters

Competition Sailing Catamaran Picture Coaster 
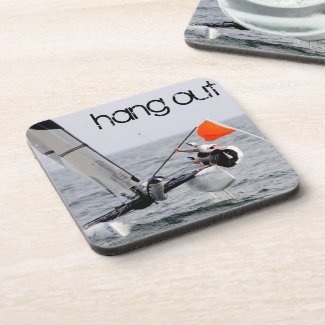
Competition Sailing Catamaran Picture Coaster
Competition Sailing Catamaran Picture Coaster by Visages
View other Sail Cork Coasters

Jib Sail and Mast Picture Drink Coaster 
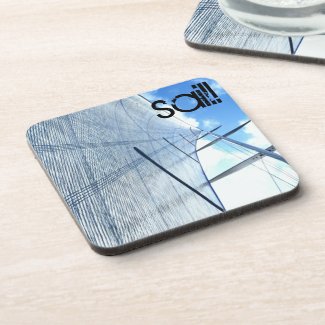
Jib Sail and Mast Picture Drink Coaster
Jib Sail and Mast Picture Drink Coaster by Visages
Browse other Sail Cork Coasters

Cute Christmas Primitive Snowman Beverage Coaster 
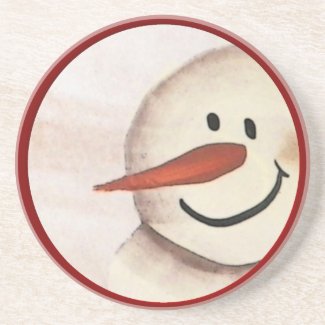
Cute Christmas Primitive Snowman Beverage Coaster
Cute Christmas Primitive Snowman Beverage Coaster by Visages
Create a personalized coaster on Zazzle.

Cute Christmas Primitive Snowman Coaster
Cute Christmas Primitive Snowman Coaster by Visages
View other Cowboy Cork Coasters

Cute Country Scarecrow Folk Art Drink Coasters 

Cute Country Scarecrow Folk Art Drink Coasters
Cute Country Scarecrow Folk Art Drink Coasters by Visages
Create unique custom made coasters at Zazzle

Cute Christmas Cowboy Snowman Drink Coaster
Cute Christmas Cowboy Snowman Drink Coaster by Visages
More Cowboy Coasters

Funny Cartoon Duck Beverage Coaster 

Monday, October 22, 2012

Primitive Grunge Pumpkins Project out of White Material

Very easy to make are primitive grunge pumpkins for Halloween or Thanksgiving decorations using:
  • an old white sheet or pillow case
  • jute twine or string
  • acrylic paint
Using the large pumpkin for the example:

Pumpkin:

Measure and cut 2 pieces 8 inches wide by 16 inches tall.

Make any size by doubling the second measurement i.e. 5x10, 6x12, etc.

 Starting with a long side, sew down then across the short bottom and back up the other long side.

Three sides are now sewn.

Turn right side out so the seams are now inside.

Loosely stuff.

Gather the top (bunch it up) and hand sew closed.

I used a large flat brush to paint and really  loaded the paint brush with paint.

Paint with an orange shade of your choice one side at a time because you need to lay it down to dry.

Allow to dry.

Paint the other side.

Allow to dry.

Paint the top and bottom.

After it's dry, wrap jute twine around one side pulling the string to create creases. Cut the string but make sure you leave yourself two tails to tie.

Repeat around the other side.

I didn't cut the ends back after tying. I left them long.

Stem:

1 1/2 inches wide by 2 1/2 inches tall

While the pumpkin is drying, stitch three sides of the stem leaving a short side open.

Turn right side out so seams are inside.

Loosely stuff.

Paint green.

Once dry, hand sew to the top of the pumpkin.

I added more grunge with nutmeg color acrylic.

Complete the look by grunging a small taper candle with nutmeg color acrylic paint and cinnamon.

Thanks so much for stopping by!

Scarecrows Pumpkins Autumn Picture Personalized Invitation
Scarecrows Pumpkins Autumn Picture Personalized Announcements
Scarecrows Pumpkins Autumn Picture Personalized Announcements by Visages
Create unique customized invitations on zazzle.

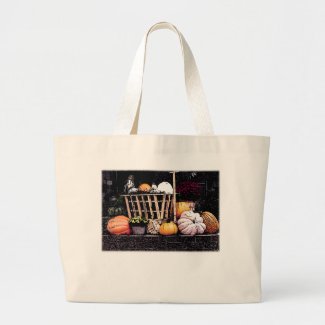
Pumpkins and Mum Autumn Picture Tote Bags
Pumpkins and Mum Autumn Picture Tote Bags by Visages
See more Pumpkins Bags

Pumpkins and Mum Autumn Picture Card 
Pumpkins and Mum Autumn Picture Card
Pumpkins and Mum Autumn Picture Card by Visages
Create your own invitations.

Pumpkins and Mum Autumn Picture iPhone 5 Cases
Pumpkins and Mum Autumn Picture iPhone 5 Cases by Visages
Browse other Pumpkins Casemate Cases

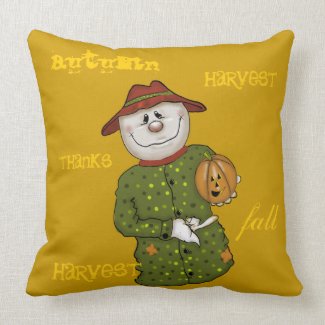
Cute Country Scarecrow Folk Art Throw Pillows 
Cute Country Scarecrow Folk Art Throw Pillows
Cute Country Scarecrow Folk Art Throw Pillows by Visages
See other Folk Pillows

Cute Country Scarecrow Matching Postage 
Cute Country Scarecrow Matching Postage
Cute Country Scarecrow Matching Postage by Visages
Browse more Matching Stamps

Princes Pumpkin Halloween Party Invitations 
Ghostly Halloween Eyes Card
Ghostly Halloween Eyes Card by Visages
Browse more Spooky Cards

Octoberfest Get Me a Beer Mugs or Steins 

Tuesday, October 16, 2012

Turn a Vintage Metal Lunch Box into Children's Tool or Art Box

Old Donnie at Glasgow Trading Post, Glasgow, MO, did it again.

He gave me a challenge: Turn a vintage black lunch box into a tool (or art supplies) box for kids.

The project is very easy.

Sand the lunch box inside and out. Get rid as as much rust as you can.

Wipe clean with a damp cloth.

Paint the inside with white enamel spray paint.

Paint the outside with a bright red.

As always, it will take three or four coats.

Once dry, paint large white ovals. Let dry between layers of three or four.

With a round brush, dip into black, add eyebrows, the round pupils, outline the white eyes, and paint the nose and mouth.

Let dry then dip the end of a brush into white and dot white highlights in the pupils.

After all has dried, protect the paint with at least - preferably more - two layers of water based varnish.

Below are new designs by Visages Gift

Thanks for visiting!

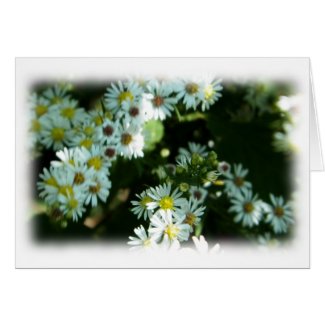
Wild Daisy Fleabane Flower Blank Cards
Wild Daisy Fleabane Flower Blank Cards by Visages
More Wild Cards

Autumn Landscape Photograph Card 
Autumn Landscape Photograph Card
Autumn Landscape Photograph Card by Visages
Design your own personalised greeting cards at Zazzle

Red Barn Autumn Trees Thank You Greeting Card
Red Barn Autumn Trees Thank You Greeting Card by Visages
Look at more cards from Zazzle.

Albino Ferret Picture Greeting Cards
Albino Ferret Picture Greeting Cards by Visages
More Albino ferret Cards

Sunset and Boats on the Water Picture Wallclocks 
Sunset and Boats on the Water Picture Wallclocks
Sunset and Boats on the Water Picture Wallclocks by Visages
Find other Wall Clocks online at Zazzle

Sunset and Boats on the Water Picture Throw Pillows

Thursday, October 11, 2012

Turn a Candle into Cinnamon Spice Candle

Buy a candle then create your own rustic, homemade-look cinnamon coated candle.

And, it will burn safely because the acrylic is water base.

So easy!

WHAT YOU NEED:
Candle - any size or color
Acrylic paint in brown hue
Paint brush
Candle holder to hold the candle while it dries
Ground cinnamon, nutmeg, clove or other ground spice

INSTRUCTIONS: Paint the candle, put into candle holder and let dry. Don't get carried away with brush strokes, pressing hard on the brush or repeatedly going over the wet paint.

Add a thick, heavy second coat.

While it's still wet, begin sprinkling the cinnamon over the candle.

Be sure to turn the candle once one side is covered and continue until the entire candle is coated in the spice.

Let dry.

That's it! That's all there is to this simple tutorial to create your own cinnamon spice covered rustic candle.

Please visit Visages for more rustic cards, invitations, postage, gifts, and more. Below are a few examples.

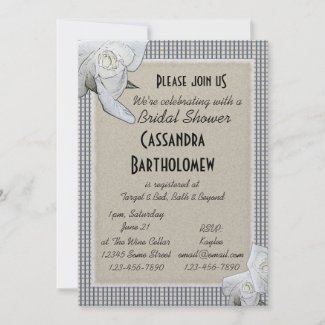
Country Blue Checks White Roses Bridal Shower Custom Invitation
Country Blue Checks White Roses Bridal Shower Custom Invitation by Visages
More Blue Invitations

Rustic Tree Branch Limb Bench & Flowers Canvas Print  
Rustic Tree Branch Limb Bench & Flowers Canvas Print
Rustic Tree Branch Limb Bench & Flowers Canvas Print by Visages
View more Rustic Canvas Prints

Personalized Western Cowboy Boots Cards
Personalize the message!
Personalized Western Cowboy Boots Father's Day Cards
Personalized Western Cowboy Boots Father Day Cards by Visages
View more Western Cards

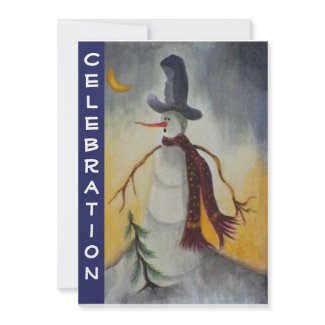
Primitive Folk Art Snowman Holiday Party Personalized Invitation  
Antique Iron Horse Tough iPhone 3 Cover
Antique Iron Horse Tough iPhone 3 Cover by Visages
Browse another iPhone 5 cover online at zazzle.com

Ivy & Vines on Wood Fence iPhone
Ivy & Vines on Wood Fence iPhone by Visages
Shop for an iPhone 5 case online at zazzle.com

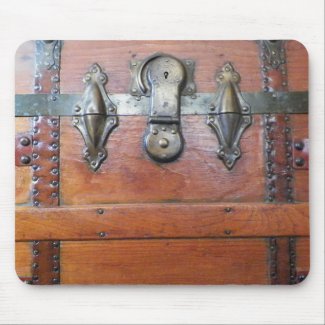
Wooden Trunk Chest with Buckles Mouse Pad
Wooden Trunk Chest with Buckles Mouse Pad by Visages
Design a unique custom mouse pad.

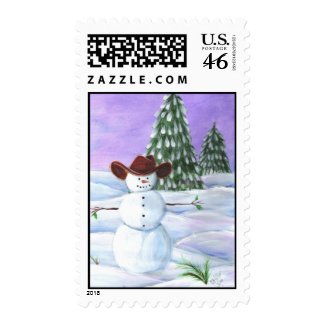
Postage Stamp Cowboy Christmas Snowman
Postage Stamp Cowboy Christmas Snowman by Visages
Make your own US photo stamps online at zazzle.com

Monday, October 1, 2012

Paint Vintage Oil, Gas or Kerosene Can for Makeover


Turn old grey galvanized oil, gas, or kerosene cans into rustic country decor or vases with paint and your imagination.

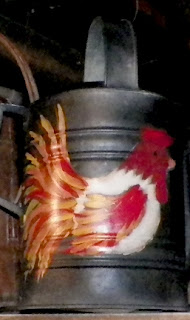
These three cans were given to me by Donnie, Glasgow Trading Post, with instructions to "... paint roosters. Roosters are popular.". Well, he got a couple of chickens (one pretty primitive) and primitive rooster.

The trick to creating the chicken and rooster shapes - strictly speaking for myself - is to focus on the negative space surrounding the bird since I most generally don't trace.

Because the birds are mostly white, I chose dark backgrounds which allow the lighter colors to "pop" a bit more than if I were to use lighter backgrounds.

If you're unsure whether the colors you chose will contrast enough, simply paint swatches on scrap paper to compare. Scared of making a mistake? Here's the great thing about paint: You can paint over it as many times as necessary until you achieve the look you want.
And... be sure to take a brush and water to at least the exterior to remove anything that's loose.

The above can was based with nutmeg brown. The bottom border was made with a 1/4 inch brush. Antique white and barn red make up the colors of the primitive chicken. Burnt umber was floated along the interior edges of her body.

I chose a black background for variation since the piece was scheduled to be in a gift shop. I wanted to offer customers a choice. The colorful chicken was based in antique white, head in barn red and multiple colors and layers were added for her feathers. I added a bit of shading around a few feathers of the wing just to add interest and depth.

Again, nutmeg brown for the base color. I painted a simple leaf motif border around the bottom in antique gold. Barn red and antique white make up the body while antique gold was used for the feet. The primitive rooster's body was finished off with a light coat of burnt umber along the inside edges.

Rule of thumb: Keep the shapes basic and painting to a minimum. Think quick and easy to achieve a rustic country or primitive look.

All cans were sprayed with a clear coat - the cheapest I could find.

Why?

Because acrylic paint doesn't stick to metal very well so the slightest brush against it will chip or scratch the paint.

If the can is remaining inside the home, you can always use water based varnish found at a craft store.

Have fun! Don't be scared. Attack the can bearing in mind that you can paint over any mistake.


Pumpkins and Mum Autumn Picture Card
Pumpkins and Mum Autumn Picture Card by Visages
Make an invite on zazzle

Pumpkins and Mum Autumn Picture Card
Pumpkins and Mum Autumn Picture Card by Visages
Browse other Pumpkins Cards

  Pumpkins and Mum Autumn Picture Poster
Pumpkins and Mum Autumn Picture Poster
Pumpkins and Mum Autumn Picture Poster by Visages
View another fine art print at zazzle

 Pumpkins and Scarecrow Picture Cards
Pumpkins and Scarecrow Picture Cards
Pumpkins and Scarecrow Picture Cards by Visages
See more Pumpkins Cards

  Pumpkins and Mum Autumn Picture iPhone 5 Cases
Pumpkins and Mum Autumn Picture iPhone 5 Cases
Pumpkins and Mum Autumn Picture iPhone 5 Cases by Visages
View other Pumpkins Casemate Cases

  Cute Primitive Art Snowman Christmas Ornaments
Cute Primitive Art Snowman Christmas Ornaments
Cute Primitive Art Snowman Christmas Ornaments by Visages
Browse more Primitive Ornaments

  Cute Christmas Primitive Snowman Beverage Coasters
Pumpkins and Mum Thanksgiving Picture Greeting Cards
Pumpkins and Mum Thanksgiving Picture Greeting Cards by Visages
Browse more Pumpkins Cards

  Primitive Folk Art Snowman Holiday Party Personalized Announcement
Primitive Snowman Christmas Jar Sticker
Primitive Snowman Christmas Jar Sticker by Visages
See more Primitive Stickers

Primitive Acrylic Painted Snowman Christmas Tag Rectangular Sticker